
Sign in with your NeetoEngage account
- Claude
- ChatGPT web app
- ChatGPT desktop app
- Claude Code
- Cursor
- Gemini CLI
- Codex
- VS Code
- Windsurf
-
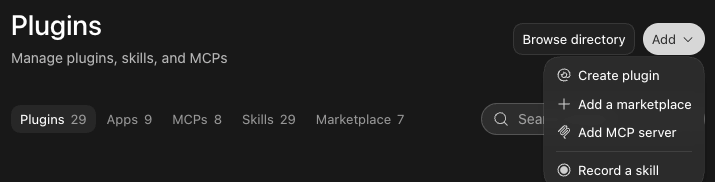
Open Customize > Connectors, click Add, then click Add custom connector.
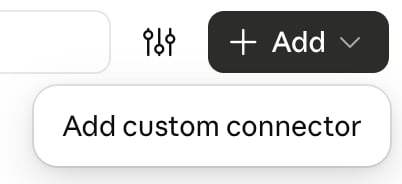
Add custom connector is the only item under the Add button.
-
Enter the name NeetoEngage and paste the server URL:
- Click Continue and sign in to NeetoEngage. See What the sign-in looks like.

What the sign-in looks like
1
Connect your workspace
Enter your workspace subdomain, or paste your workspace URL. For
acme.neetoengage.com, enter acme. If you do not know it, select Find your workspace subdomain on that screen. It opens the Workspace subdomain page.2
Sign in
Sign in to that workspace, if you are not signed in already.
3
Choose what the assistant can do
Read and Stay connected are always on. Tick Create and update and Delete only if the assistant needs them.One connection can reach more than one workspace at the same time. The workspace you entered is always connected. If your email belongs to other workspaces, tick any you also want under Additional workspaces to connect. The permissions you approve apply to all of them.
4
Authorize
Click Authorize.
Use an API key
An API key reaches the whole workspace, not only what you can see. Use it for automation. See Authentication.- Claude Code
- Cursor
- Gemini CLI
- Codex
- VS Code
- Windsurf
- Antigravity
-
Add the server to
~/.claude.json: - Restart Claude Code.
YOUR_API_KEY with a key from your workspace. Learn how to generate your API key.